Hey guys. So for today's tutorial, we're at my house and I've got my friend Mark from Shay's Billiard here to change out the pool table cloth. How to change the felt on a pool table is a typical question that many people have because it's not an easy job to do. To explain the process, we got some help and we are going to show you how a professional table mechanic does the job.
Okay, so to change your pool table felt you've got to follow a few steps. It's definitely doable by yourself. But again you know it's not easy so if you have a choice, always try to go with a professional.
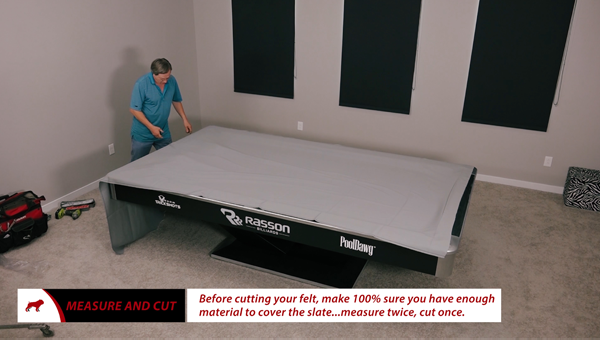
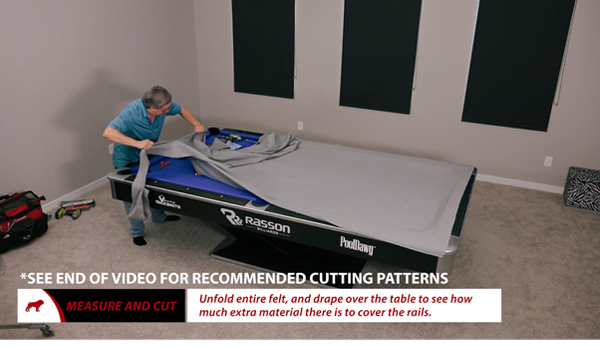
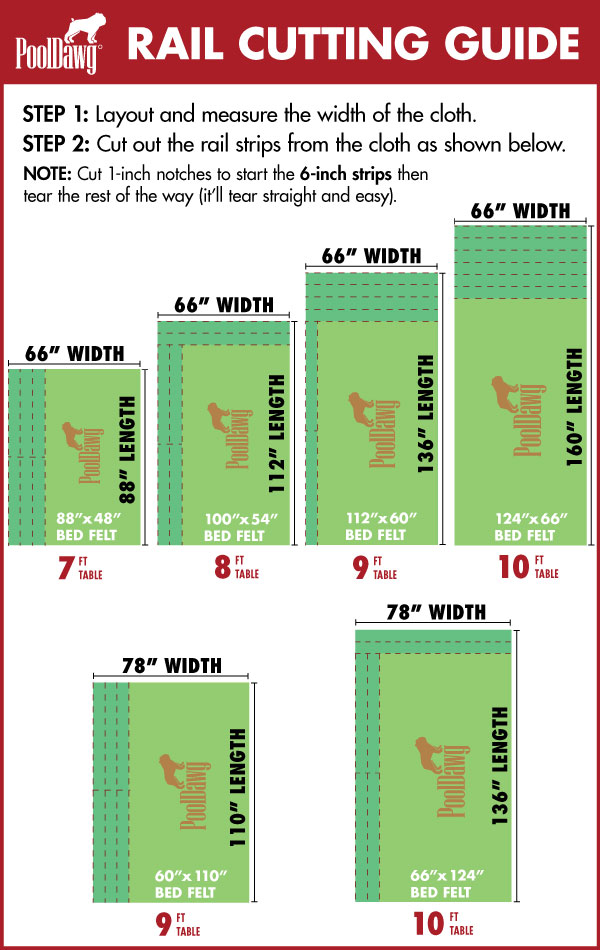
Most of the time when you buy a felt the rails will come included and you need to cut the rail strips out yourself. Usually you can take from the bottom of the felt. If you lay the pool cloth on the table, some sides are going to be longer. You will cut 6" sections from those excess sides to make the rails with. Felt is expensive, so make sure you always measure everything properly to ensure you make as little mistakes as possible (see cloth cutting guides at the bottom of this article).
 Frank Says: "We've got everything that you'll need for your project. Check out all of our Pool Table Repair Products to stock up on necessary tools and supplies!"
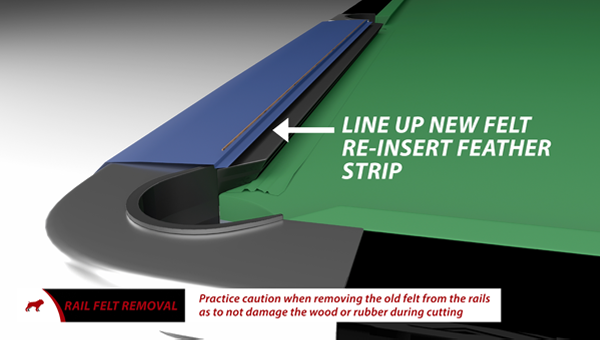
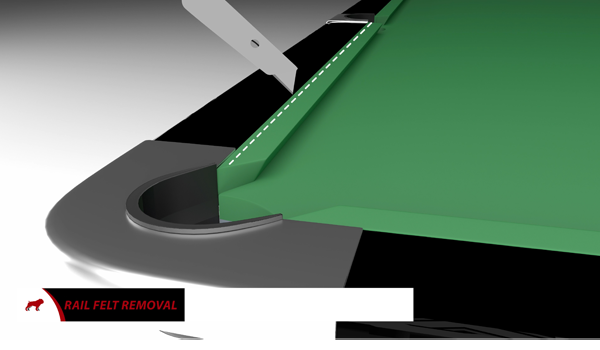
To start with, we cut a strip over the top of the rail and we remove that part. We do that on every rail. There is a feather strip in the rail that we will also take out. Then, we insert the new felt on the rail, and put the feather strip back into the groove. You want to hammer the feather strip and felt into the groove a little bit to make sure that it's tight in the rail and won't slide out when you play.
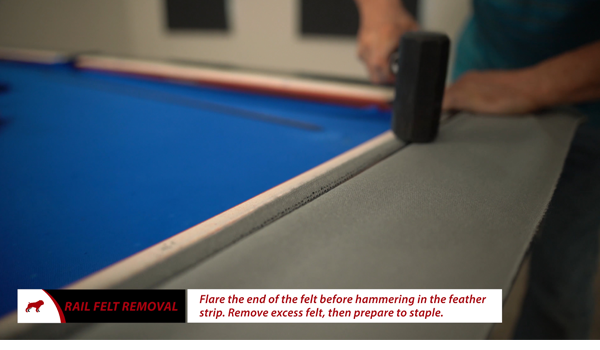
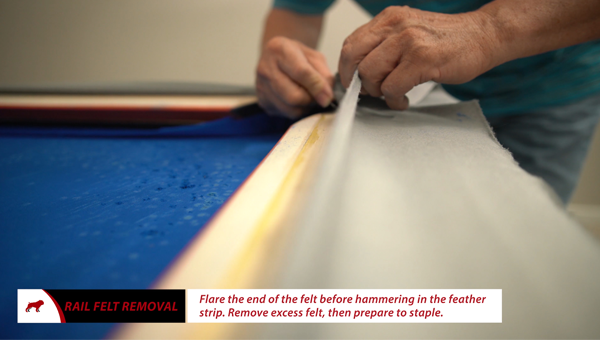
Putting the felt over the rails is easier when they are not attached to the rest of the table. You need to remove the rails from the table, by removing the entire top portion of the pool table. To remove the top portion you will have to remove the pocket connectors and anything else connected to the rails, in order to isolate them.
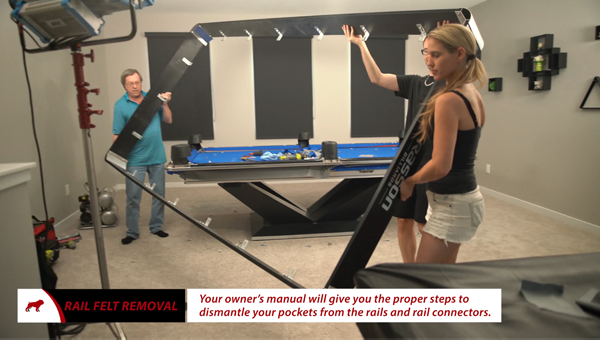
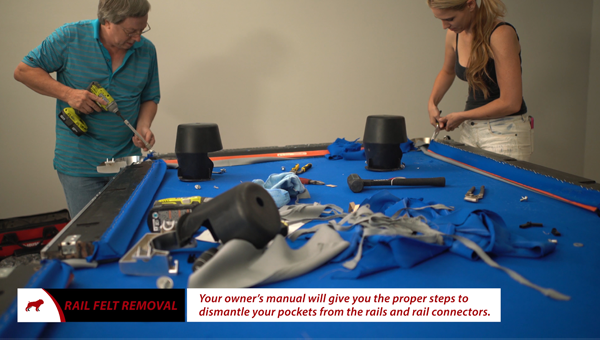
After the top is removed and the rails are separated, you will have to remove all of the staples from the old felt, which can be a time-consuming process, and make the wood cleaner. There is a theory that if you put a staple every eighth of an inch apart, the felt is going to be consistently tight all the way across. However, Mark explains that you don't need quite that many. You could space the staples out a half inch to three quarters of an inch, and still achieve good tension across.
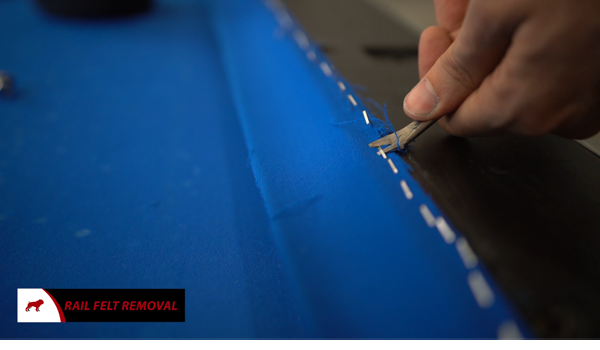
After removing the old felt from the rails and putting new felt in the rails, all that's left to do is attach them, re-attach the new felt, re-staple the new felt and cut the excess cloth off the sides.
When beginning to staple the felt down to the rails, you must make sure the felt is attached tightly. The tighter you can make the felt, the better your pool table will play, look and feel. If felt is loose on the pool table, it will react when you are playing on it, and you will not have proper playability.
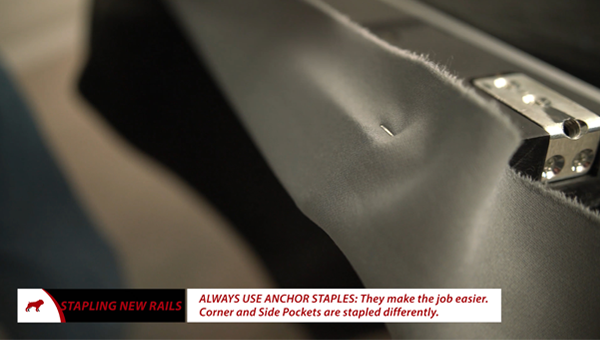
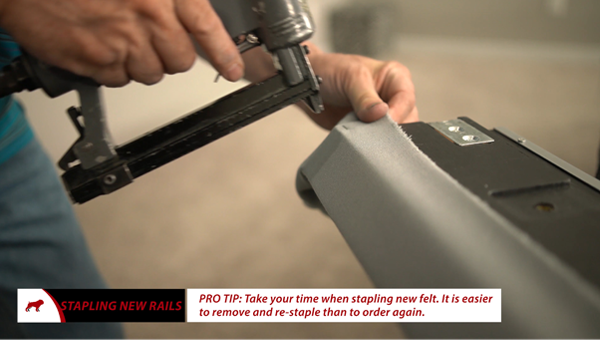
To start you will place an anchor staple on each end of the rail. You pull the felt tight between the two anchor staples and over the rubber. Be careful that you don't pull too tight on the felt over the rail cushion, or you're going to ripple the rubber.
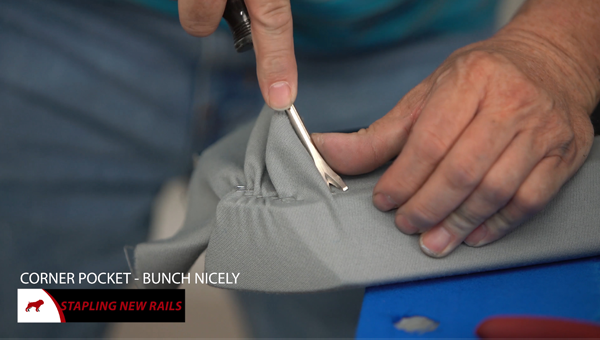
For corner pockets, we pull the cloth across the facing, over the top, and then pull it behind the rail. Then we staple behind the felt and anchor it in place. We pull the felt across the top and all the way back, and shoot a staple in to hold it in place. To get any ripples out of the top and the felt back and then putting a number of staples over the back of the cloth to get each ripple out of the facing.
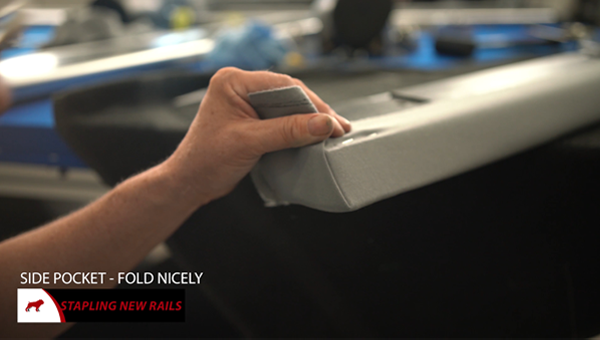
With side pockets, we need to anchor the backing of the felt and put a few staples behind it. Pull it tight across the face and then roll the felt over the top, then roll it down the side. Put two more staples behind and two more on top of the cloth to get the cloth tight.
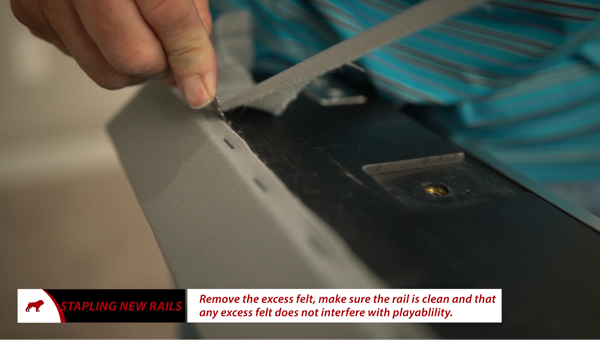
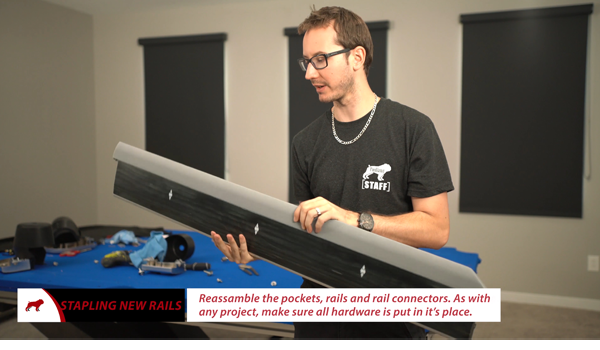
The rails are done and you can see they are clean and tight with the new cloth. I picked grey this time, instead of blue, because of how dirty it was. After this we will reattach the skirt together and the pockets.
Next we will be doing the bed cloth. You will have to remove the old felt on the table, relevel and clean the slate, put the new bed cloth on and then you are finished. First we are going to remove the old felt on the table.
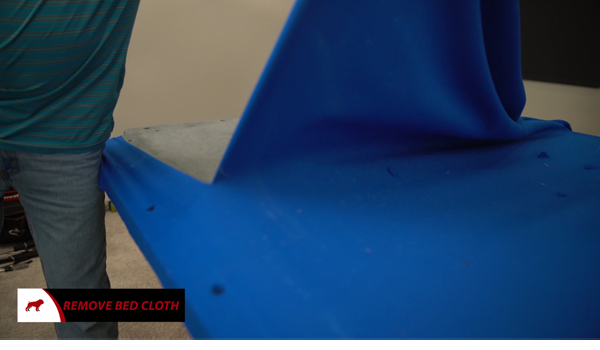
To remove your old bed cloth you will need to pull all of the staples out. Most of the time, you can pull pretty hard on the cloth. This will usually pull the staples out easily and then you will remove the rest of the excess staples with pliers. Once you're done removing the felt, you will have to clean your slate.
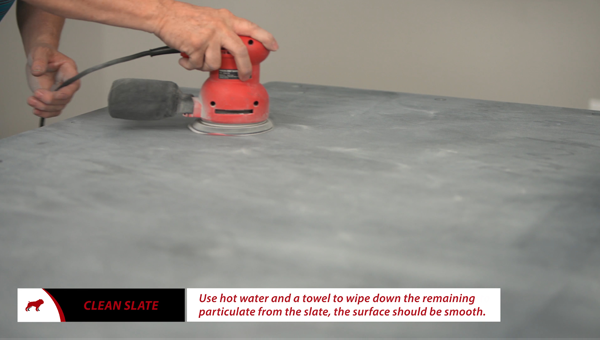
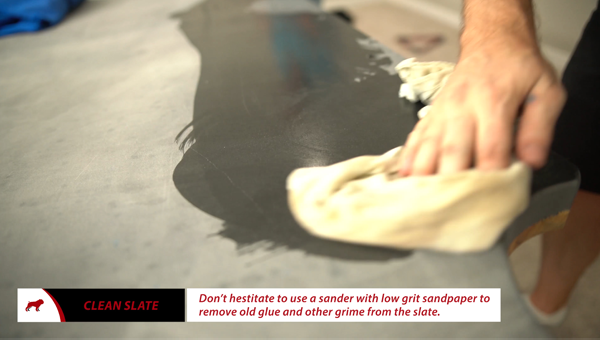
This is a very important step of the process because a lot of the time people rush through this step. if you do this quickly and leave residue, a big piece of dust or hair, you will feel it under the table when you play. It's no good to even have just a hair under your cloth because you cleaned the slate too quickly. It's important to make sure the slate is completely clean. We used hot water and a towel to clean the slate, and then we used our hands over that, as to not leave any residue from the towel. This helps to clean it all around.
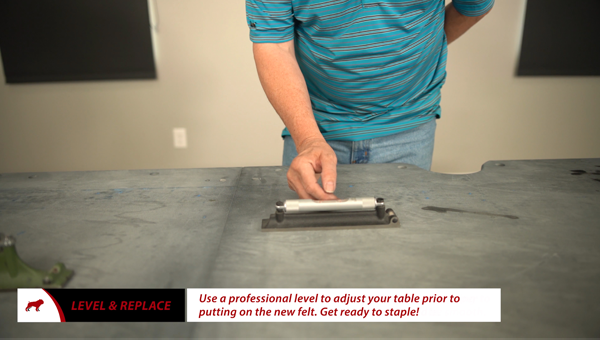
Use a level in order to ensure that your slate and table are properly aligned and level. We are using a Starrett Machinist Level - 8 inch. Each red line on the level is 5/1000 of an inch. You can tell that the table is off by one complete line, which theoretically, is 2.5/1000 of an inch. A dollar bill is about 4/1000 of an inch. That's how sensitive this level is.
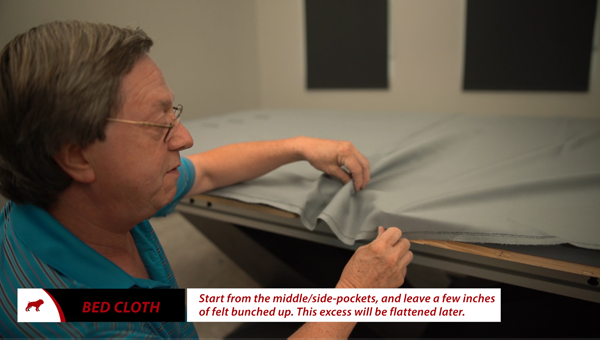
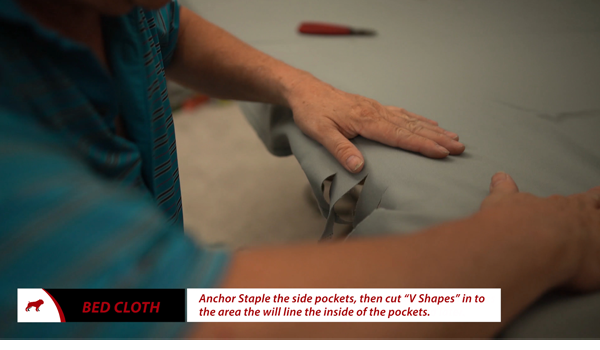
Doing the bed cloth is not hard once you know what you are doing. Actually, it is much easier to do than the rails, but you still have to be careful. To begin, Mark starts with the side pocket and leaves an excess of felt in the middle of the table by the side pocket. It depends on the size of your table to determine measurements, but we have about three inches of extra felt left in the middle. From there, you will start pulling the felt down the slate.
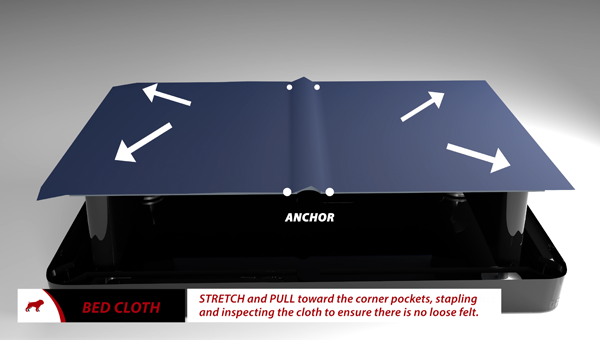
We pull from the corners. Every time you pull you're going to try and pull as much as possible and make it really, really tight because the last thing you want on the pool table is to have loose cloth. If you put your hand down when the felt is loose, you can feel the cloth moving. That is the worst to have as far as when playing goes. Again, take your time stapling. Pull more, staple more and you'll get there.
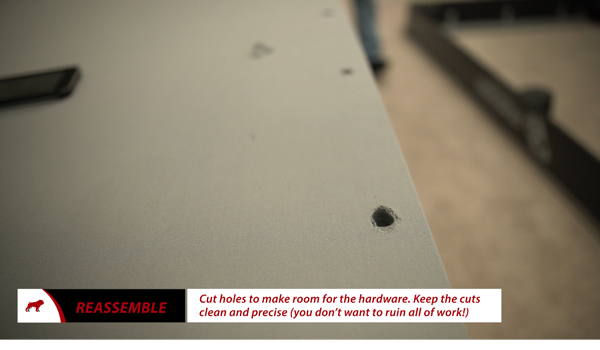
After the bed of the table is laid, you'll see how tight it is and you can see there are no wrinkles anywhere. The next step is to cut the holes where the rods will go, so every rail can go under the bed and through the table. You will have to find the spots and when you feel one, use a blade to cut a cross into the felt and open the hole. Then you can fit the bolt right under it.
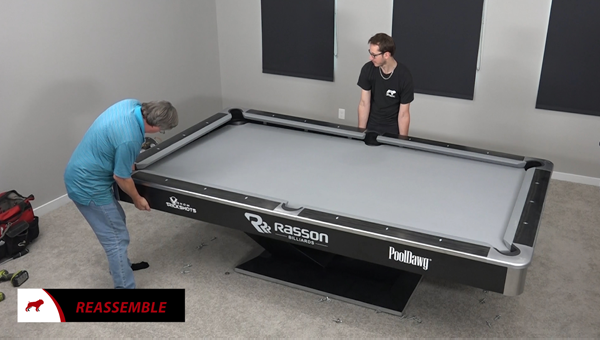
You're pretty much done at this point. I wish you all good luck. I cannot say this enough: if you don't feel like doing this, make sure you call a professional. It's an easy job for them, and for you it could be a very time consuming process. However; especially if you're a good player, I feel like you kind of have to know how to do this. It's something you will do one day, and you will save a lot of money by doing it yourself.
So, good luck. Take your time. Buy the proper tools and I'm sure you'll be happy with the results.
*Video transcript has been modified for the reader

Rail Cutting Guide for Pool Table Felt
